
The fastest way to get cinematic wedding video in low light is to prioritize existing light with fast prime lenses or Super 8 optics, enforce manual exposure limits, and use small, dimmable LED panels only where the scene genuinely needs them.
The core rule: existing light first, fast glass second, subtle fill third. Every other decision flows from that hierarchy. Couples and planners in New York and New Jersey who work with a team that lives by this approach get films that feel like the venue, not like a studio shoot.
The non-negotiables, in order:
- Lens choice first. A 50mm or 85mm f/1.4–f/1.8 prime (or the Canon 310XL's f/1.0 lens for Super 8) lets you shoot in candlelight without pushing gain into noise territory.
- Manual exposure, always. Lock aperture, shutter, and ISO/gain before the ceremony starts. Auto modes hunt in dim light and ruin the moment.
- Stabilization. Low light means slower shutters; a gimbal or shoulder rig keeps handheld shots usable.
- Discreet LED fill. One or two battery-powered, dimmable panels placed off-axis, never on-camera.
- Dedicated audio backup. A wireless lav on the officiant and a separate recorder — because low-light chaos also affects audio discipline.
Visualizemedia brings this exact approach to luxury weddings across New York and New Jersey. Follow their work on Instagram to see how it translates on real wedding days.
What gear do you actually need for cinematic low-light wedding video?
The right videography equipment separates usable footage from unusable noise. Here's how to rank it.
Priority A — Optics (non-negotiable)
- Fast prime lenses: 50mm f/1.4, 85mm f/1.8, and a 24mm or 35mm f/1.8 for wide reception coverage.
- Canon 310XL for Super 8: its f/1.0 aperture was engineered specifically for existing-light shooting, making it the strongest Super 8 option for dim ceremonies. Manual focus behavior requires the zoom-to-eyes technique (more on that in Section 3).
Priority B — Camera body
- Sensor size matters more than brand. 1-inch sensors and larger handle dim receptions with less distracting noise than smaller chips. Full-frame mirrorless bodies are ideal for the A-cam; a run-and-gun camcorder with integrated audio and continuous-record capability works well as a B-cam for long ceremonies.
- Autofocus often fails in extreme low light. Prioritize bodies with reliable manual controls or strong face-detect AF that holds in candlelight.
Priority C — Stabilization, lighting, and audio
- Gimbal or shoulder rig for the A-cam; a compact tripod or monopod for the B-cam static position.
- Two small, battery-powered, dimmable LED panels per operator. Aputure's Amaran and Light Storm lines are well-regarded options with D-Tap power compatibility for longer runtime.
- Wireless lav system plus a backup recorder (Zoom H-series or similar) for audio redundancy.
- Spare batteries and quick-swap media for both cameras.
Pro Tip: For ceremony redundancy, a single B-cam locked on a tight shot of the couple frees the A-cam operator to roam. A compact camcorder with integrated audio and a wide prime handles this without adding an obtrusive rig to the aisle.
Super 8 cartridges run approximately 3 minutes and 20 seconds at 18 fps — plan for intentional vignettes (ring exchange, first kiss, first dance entrance), not continuous coverage.
How to set exposure for low-light wedding video
Start with these base settings before you walk into the venue:
- Set aperture wide open (or one stop down from maximum for sharpness). f/1.4–f/2.0 for digital; f/1.0 on the Canon 310XL.
- Apply the 180° shutter rule. At 24 fps, set shutter to 1/50s. At 30 fps, use 1/60s. This preserves natural motion blur.
- Set your ISO/gain ceiling. 1-inch sensors handle up to roughly 18dB gain before noise becomes distracting. Full-frame mirrorless bodies typically hold clean detail to ISO 3200–6400 depending on the body.
- Lock manual white balance using a gray card or white surface under the venue's dominant light source.
- Test exposure across ceremony sightlines during the rehearsal or first look — not during the processional.
- Bracket your test shots. Walk the aisle, stand at the altar, check the reception floor. Adjust gain/ISO at each position and note the limit.
For Super 8, choose a film stock rated for indoor use. Kodak Vision3 50D works in brighter venues; Vision3 500T is the indoor workhorse for dim receptions and candlelit ceremonies.
Avoid Auto ISO and Auto Gain entirely. Automated camera systems hunt and shift in low light, producing visible exposure pumping during vows. Also avoid heavy electronic stabilization modes that crop the sensor — in low light, you need every pixel.
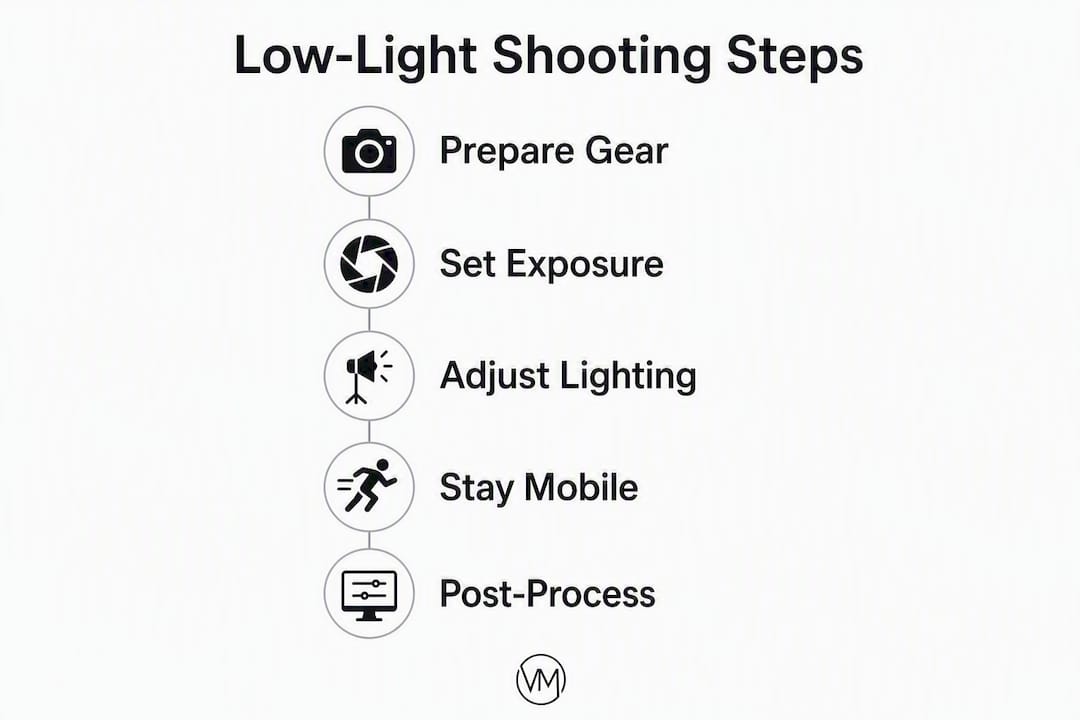
Pro Tip: A two-minute pre-ceremony test: stand at the officiant's position, roll 10 seconds at your planned settings, play it back on a monitor. Check for noise, motion blur, and focus. Adjust once. That's your locked profile for the ceremony.
Lighting setups that preserve venue mood
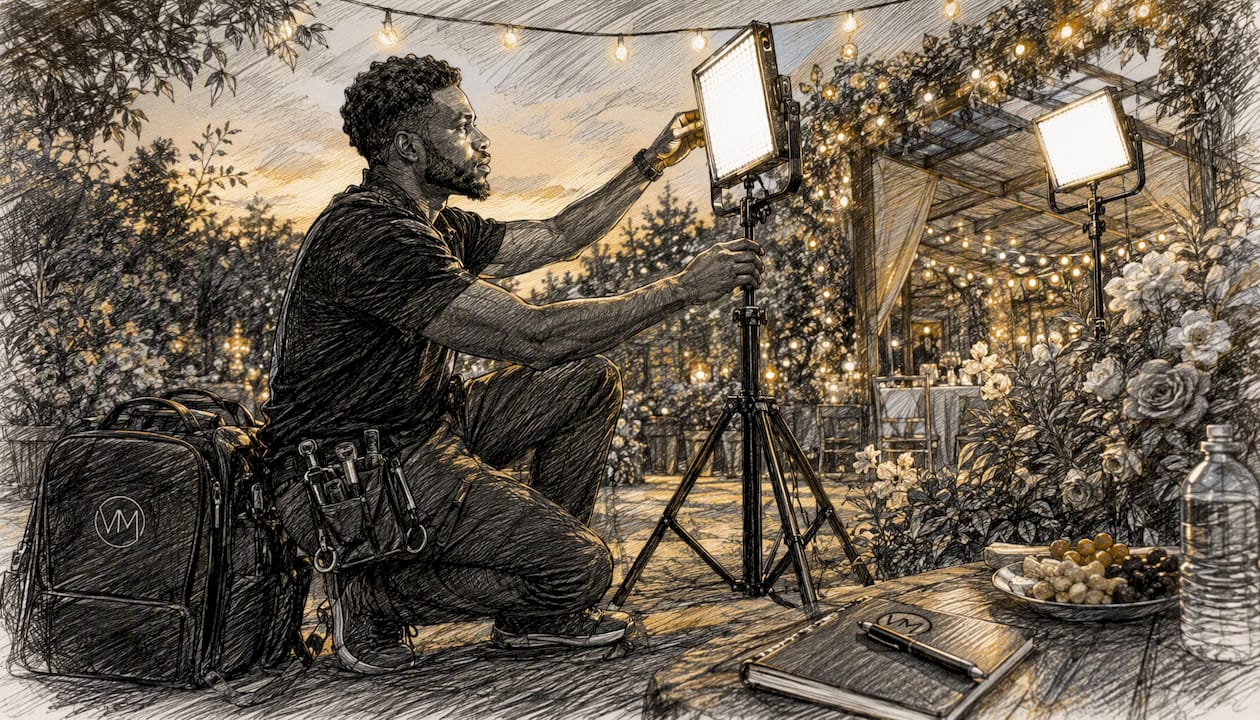
Use battery-powered, dimmable LED panels placed at 45° angles or bounced off walls for soft, romantic fill that reads as part of the venue rather than a production light. The goal is to lift the shadows just enough for the sensor — not to relight the room.
| Scenario | Placement | Modifier | Color |
|---|---|---|---|
| Ceremony (side fill) | 45° off-axis, shoulder height | Diffusion cloth | Match venue tungsten |
| Reception speeches | Bounced off ceiling or wall | None needed | Match DJ/ambient LED |
| First dance | One panel, camera-left, low | Diffusion | Warm gel (3200K) |
| Couple portraits | Open shade or bounced LED | Diffusion | Daylight or ambient match |
Color matching is where most low-light footage falls apart. Venues combine daylight windows, tungsten chandeliers, and colored DJ LEDs simultaneously. Set a custom white balance, use correction gels on your panels, and shoot in a log or flat picture profile to preserve grading latitude in post.
LED flicker is a real problem at dimmed levels. Before the wedding, test your panels at 20%, 50%, and 80% brightness against your camera's shutter speed. High-frequency LED drivers (above 1000Hz PWM) eliminate flicker at most shutter settings. Check this during your venue scout, not during the first dance.
Pro Tip: Two small panels per operator, placed off-axis and gelled to ambient color temperature, is the ceiling — not the floor. One panel, bounced, often does more for mood than two panels pointed directly at the couple. See Visualizemedia's NY/NJ lighting approach for venue-specific examples. For uplight rental options that integrate with your LED setup, battery-powered uplights can anchor a reception floor without a power run.
How to stay mobile and unobtrusive during the ceremony and reception
Cinematic success in low light depends more on preparation and lens choice than on large lighting rigs. Primes and small rigs let you move without drawing attention. These unobtrusive filming techniques protect the intimacy of the moment.
Shot coverage that works in dim light:
- Ceremony vows: tight close-up on faces (85mm), B-cam locked wide from a balcony or rear position.
- Reaction vignettes: 50mm at f/1.4 from the aisle edge, no LED, existing candlelight only.
- First dance: wide establishing shot plus a tight roaming shot — alternate between them every 20–30 seconds.
- Speeches: static B-cam on the speaker; A-cam roams for guest reactions.
Mobility checklist for low-light venues:
- Scout balcony and mezzanine positions for elevated B-cam angles that avoid blocking guests.
- Mark aisle positions where you can kneel without entering the frame of the officiant's sightline.
- On reception floors, identify the DJ booth and bar as natural cover positions for candid roaming.
- Avoid on-camera LEDs during the processional — they blind guests and flatten the image.
Pro Tip: Lead shooter's tactical pack: one prime lens on body, one spare prime in a belt pouch, one small LED panel with a diffusion clip, and a wireless lav receiver. Everything else stays in the bag. Quick swaps under 30 seconds keep you in position for the moments that don't repeat.
Post-production: denoising, grading, and managing grain
Quick answer: denoise conservatively, protect skin highlight detail, and use film grain or LUTs to unify Super 8 and digital clips into a single visual language.
- Ingest and verify. Check every clip for focus, exposure, and sync before editing begins.
- Sync audio. Match the lav and backup recorder to camera audio using a clap or timecode.
- Primary color correction. Lift exposure on underexposed shots, correct white balance shifts from mixed sources.
- Controlled denoise. Apply temporal denoising first at a low-to-medium setting. Low light increases the need for steady support and careful denoising — over-denoising smears skin texture and kills the cinematic feel.
- Grain addition. Digital footage shot at high ISO often benefits from a light grain overlay to match Super 8 inserts. DaVinci Resolve's built-in grain tools or dedicated plugins handle this well.
10-bit recording gives you significantly more latitude to recover shadow detail and correct color shifts in log footage — worth prioritizing when choosing a camera body.
Super 8 grain is an aesthetic asset, not a flaw. Preserve it. When cutting between Super 8 vignettes and digital coverage, match the digital grain level to the film rather than cleaning the film up to match digital.
Pro Tip: Two-pass denoise: first pass is temporal at low aggression to reduce random noise frame-to-frame. Second pass is spatial at minimal strength, applied only to backgrounds — not faces. Faces processed with spatial denoise lose the micro-texture that makes skin look real.
What to check before the wedding day
A 30–60 minute venue scout during the same time of day as the ceremony is the single best insurance against low-light failures.
Pre-shoot checklist:
- Power access: locate outlets near B-cam positions for charging; confirm battery-only operation is permitted where outlets are unavailable.
- LED placement permissions: ask the venue coordinator whether stands are allowed in the aisle or if panels must be handheld.
- Noise rules: some venues prohibit fan-cooled LED panels during the ceremony. Battery-powered fanless panels solve this.
- B-cam positions: walk the balcony, mezzanine, and rear of the ceremony space. Confirm sightlines and floor space.
- Timeline windows: identify the 10-minute window before the processional for final exposure tests.
Testing routine during the scout:
- Set white balance targets under the venue's primary light source.
- Test LED panels at 20%, 50%, and 80% brightness for flicker at your planned shutter speed.
- Check autofocus behavior (or practice manual focus pulls) at the altar distance.
- Run a Super 8 test roll if film is part of the package — process it before the wedding to confirm exposure.
For audio, confirm whether the venue has a house mic feed you can tap, and plan your audio backup accordingly. A separate recorder as a failsafe costs nothing in post if you don't need it, and everything if you do.
Pro Tip: Send the venue a one-paragraph memo before the wedding: "We'll be using two small, battery-powered LED panels (no cables, no stands in the aisle) and a wireless microphone on the officiant. We'll need access to one power outlet near the rear of the ceremony space for charging between events." Most venues approve this immediately when it's framed clearly.
Key Takeaways
Shooting cinematic wedding video in low light requires fast optics, manual exposure discipline, and subtle LED fill — preparation and lens choice matter more than any single piece of gear.
| Point | Details |
|---|---|
| Existing light first | Use venue light to create mood; add LED fill only where the sensor genuinely needs it. |
| Fast optics are non-negotiable | A 50mm f/1.4 prime or Canon 310XL's f/1.0 lens outperforms any camera upgrade in dim conditions. |
| Manual exposure, locked | Set aperture, shutter (180° rule), and ISO/gain ceiling before the ceremony; never use Auto ISO. |
| Scout and test beforehand | A 30–60 minute venue scout at ceremony time catches flicker, focus, and power issues before they cost you a shot. |
| Visualizemedia for NY/NJ | Visualizemedia applies multi-camera coverage, aerial footage, and professional color grading to luxury weddings across New York and New Jersey. |
Remember: the couples who get the most cinematic low-light films aren't the ones with the biggest lighting rigs — they're the ones who hired a team that prepared, scouted, and knew when to leave the venue light alone.
A filmmaker's perspective on low-light storytelling
Low-light wedding filmmaking is where the gap between a videographer and a cinematographer becomes obvious. At Visualizemedia, the approach starts with the venue's existing light — the warmth of a candlelit ballroom, the blue-hour glow through a Manhattan skyline window, the amber of a New Jersey estate at dusk. Those qualities are the film. Our job is to protect them, not replace them.
Multi-camera packages let us hold a locked wide shot while a second operator moves for close-up reactions, which means no moment gets missed while we're repositioning. Aerial coverage adds establishing context that ground-level cameras can't provide. And color grading in post is where the footage becomes a film — recovering shadow detail, unifying Super 8 vignettes with digital coverage, and building a consistent visual tone across a 10-hour day.
Super 8 remains part of the creative toolkit for a specific reason: the grain, the warmth, and the slight softness of film create a texture that digital can approximate but never fully replicate. A few intentional Super 8 vignettes cut into a digital edit produce something that feels genuinely different from every other wedding film a couple will see. You can follow the work on Instagram to see how these elements come together on real New York and New Jersey wedding days.
Cinematic low-light wedding films for NY & NJ couples
Visualizemedia specializes in luxury wedding cinematography across New York and New Jersey, with a production approach built around existing light, fast optics, and multi-camera coverage that captures every ceremony and reception moment without disrupting the atmosphere.
Every package includes professional color grading, full ceremony and speech edits, and the option to add Super 8 film vignettes for couples who want that distinctive cinematic texture. Pre-shoot scouting, power planning, and multi-camera redundancy are part of the process, not add-ons.
To see low-light reels and full wedding films, visit the wedding cinematography portfolio or browse recent work on Instagram. Ready to talk about your date? Reach out to start the conversation about your New York or New Jersey wedding.